HTML, CSS, and JavaScript
This guide will walk you through creating your first Tauri app using just HTML, CSS, and JavaScript. This is probably the best place to start if you are new to web development.
Before we continue, make sure you have completed the prerequisites to have a working development environment.
Tauri is a framework to build desktop applications with any frontend framework and a Rust core. Each app consists of two parts:
- Rust binary that creates the windows and exposes native functionality to those windows
- Frontend of your choice that produces the user interface inside the window
In the following, we will first scaffold the frontend, set up the Rust project, and lastly show you how to communicate between the two.
create-tauri-appThe easiest way to scaffold a new project is the create-tauri-app utility. It provides opinionated templates for vanilla HTML/CSS/JavaScript and many frontend frameworks like React, Svelte and Yew.
- Bash
- PowerShell
- Cargo
- npm
- Yarn
- pnpm
- Bun
sh <(curl https://create.tauri.app/sh)
irm https://create.tauri.app/ps | iex
cargo install create-tauri-app --locked
cargo create-tauri-app
npm create tauri-app@latest
yarn create tauri-app
pnpm create tauri-app
bunx create-tauri-app
Please note that you do not need to follow the rest of this guide if you use create-tauri-app, but we still recommend reading it to understand the setup.
Here's a preview of what we will be building:

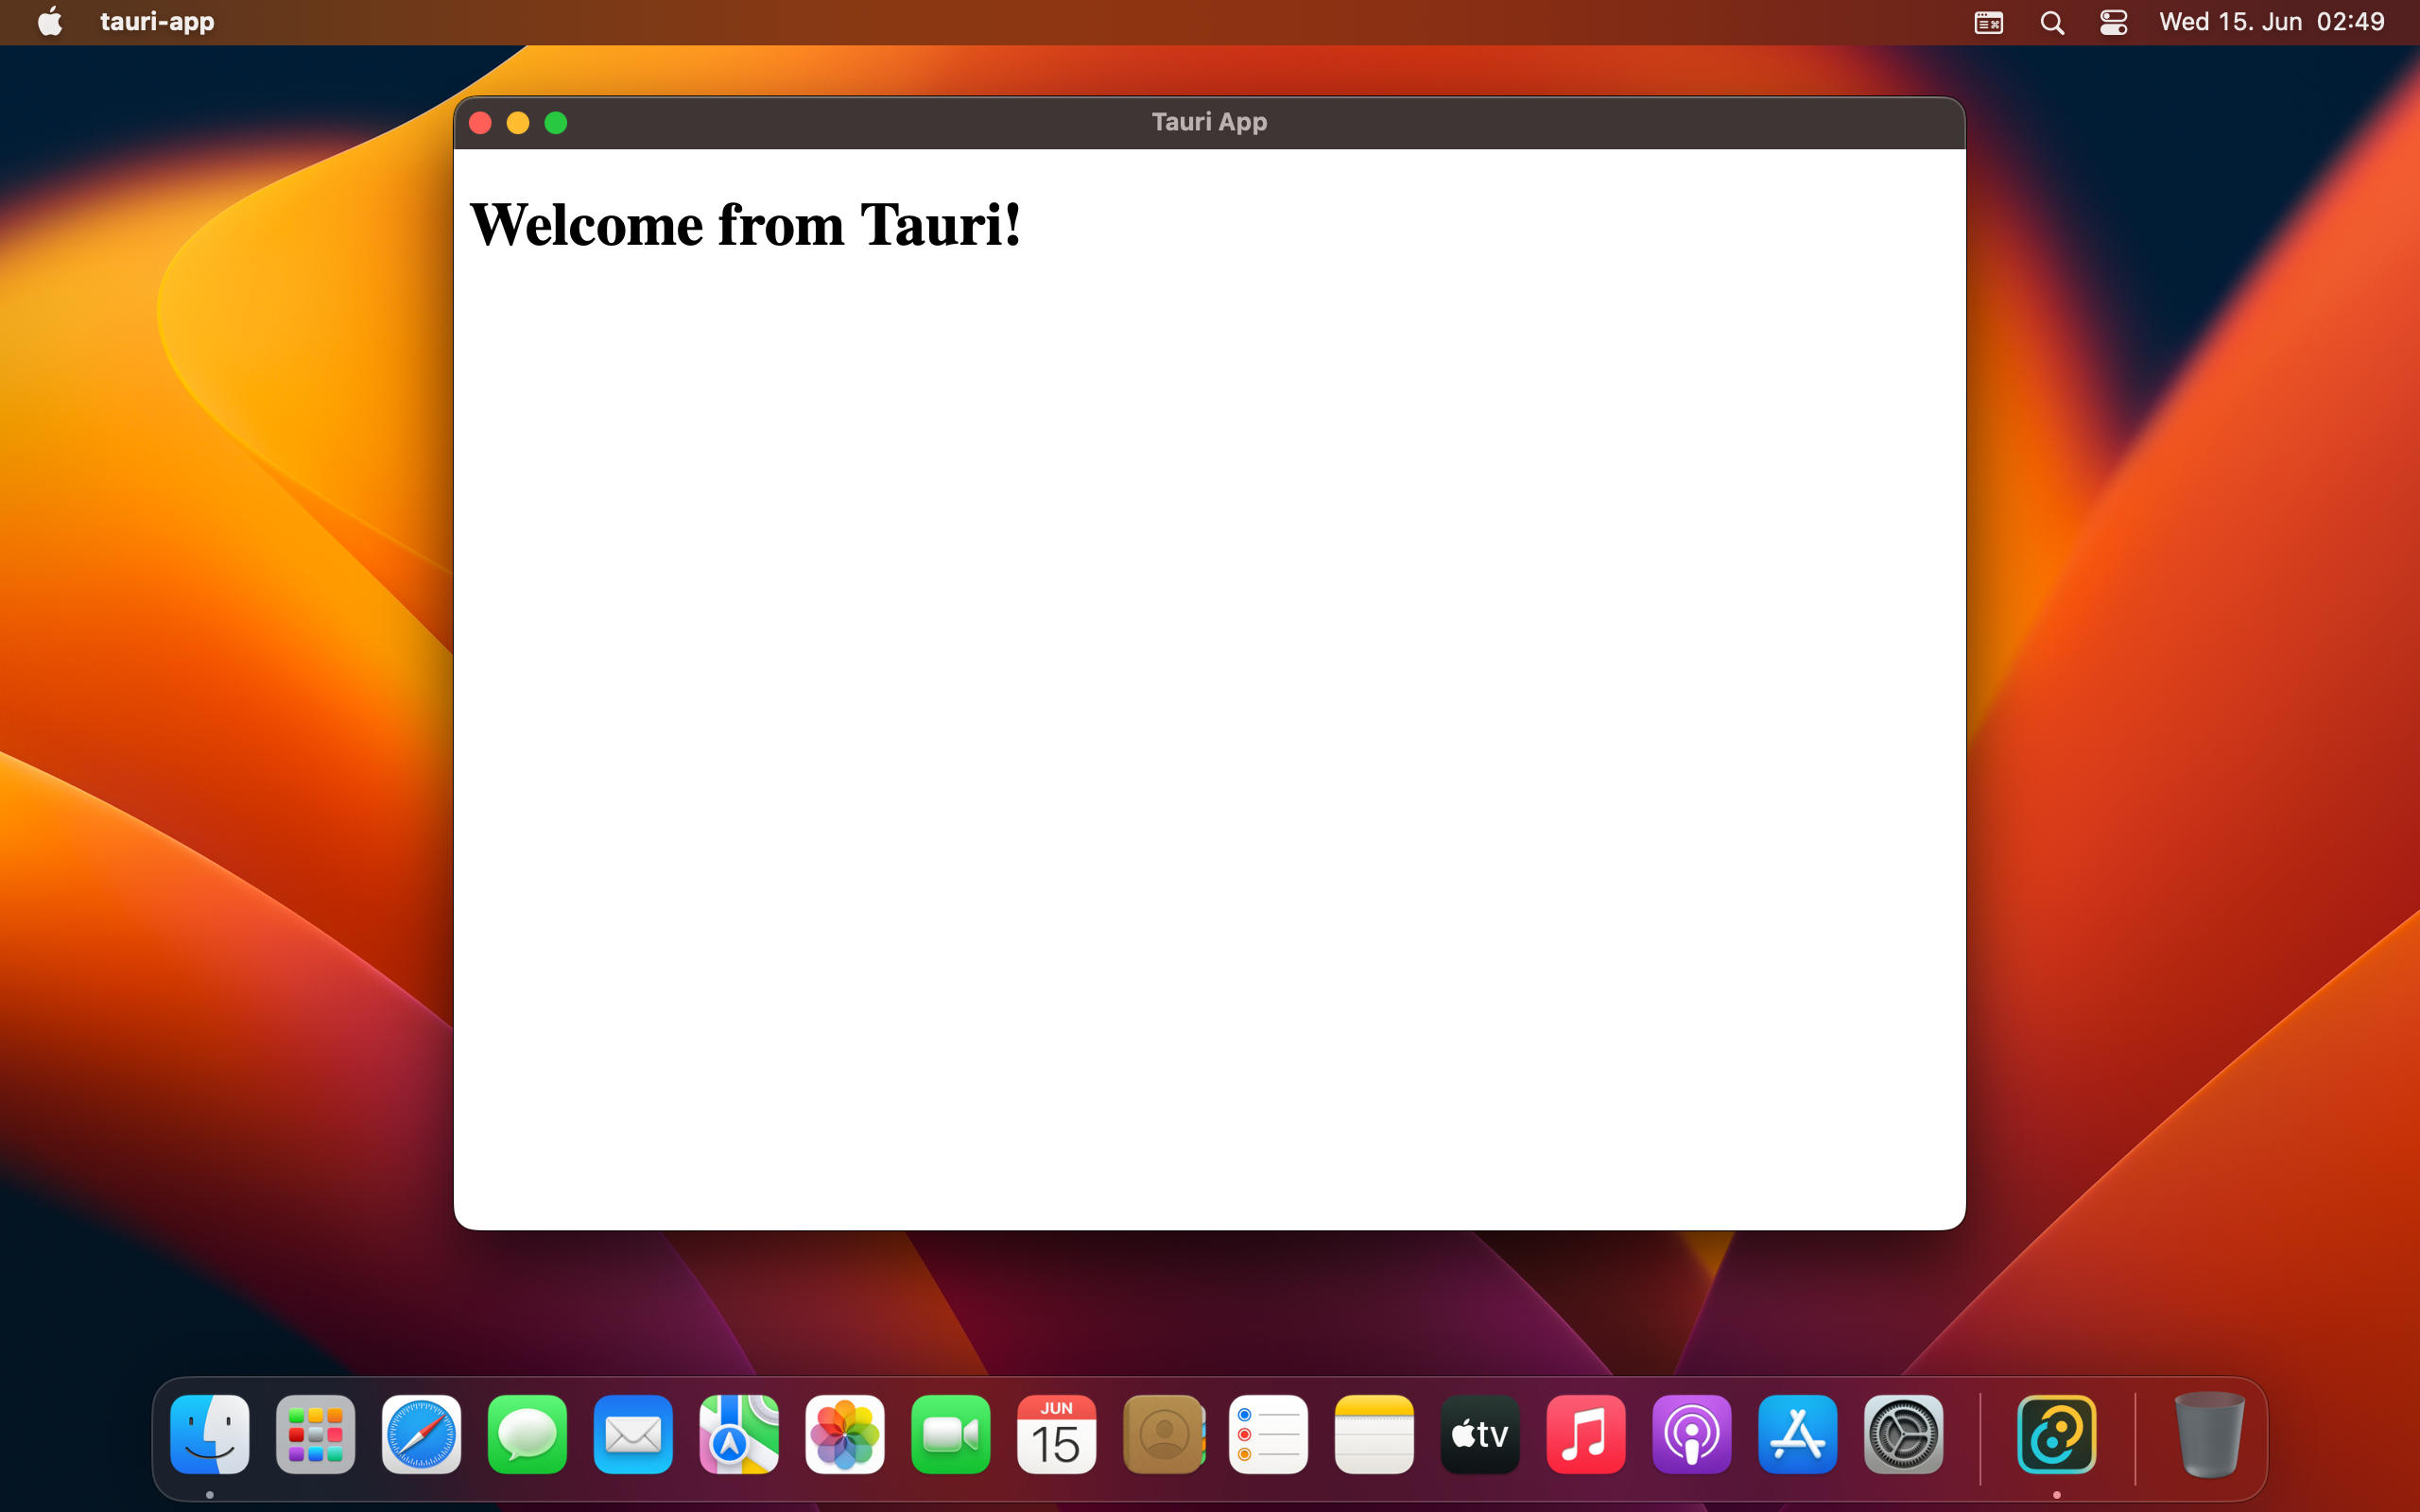
Create the Frontend
We will create a very minimal UI using an HTML file. To keep things tidy though, let's create a separate folder for it:
mkdir ui
Next, create an index.html file inside of that folder with the following contents:
<!DOCTYPE html>
<html lang="en">
  <head>
    <meta charset="UTF-8" />
    <meta name="viewport" content="width=device-width, initial-scale=1.0" />
    <title>Document</title>
  </head>
  <body>
    <h1>Welcome from Tauri!</h1>
  </body>
</html>
We will keep the UI minimal for this guide, but feel free to play around with more content or add styling through CSS.
Create the Rust Project
At the heart of every Tauri app is a Rust binary that manages windows, the webview, and calls to the operating system through a Rust crate called tauri. This project is managed by Cargo, the official package manager and general-purpose build tool for Rust.
Our Tauri CLI uses Cargo under the hood so you rarely need to interact with it directly. Cargo has many more useful features that are not exposed through our CLI, such as testing, linting, and formatting, so please refer to their official docs for more.
If you haven't installed the Tauri CLI yet you can do so with one of the below commands. Aren't sure which to use? Check out the FAQ entry.
- npm
- Yarn
- pnpm
- Bun
- Cargo
npm install --save-dev @tauri-apps/cli
"scripts": {
  "tauri": "tauri"
}
yarn add -D @tauri-apps/cli
pnpm add -D @tauri-apps/cli
bun add -D @tauri-apps/cli
cargo install tauri-cli
To scaffold a minimal Rust project that is pre-configured to use Tauri, open a terminal and run the following command:
- npm
- Yarn
- pnpm
- Bun
- Cargo
npm run tauri init
yarn tauri init
pnpm tauri init
bunx tauri init
cargo tauri init
It will walk you through a series of questions:
- What is your app name?
This will be the name of your final bundle and what the OS will call your app. You can use any name you want here. - What should the window title be?
This will be the title of the default main window. You can use any title you want here. - Where are your web assets (HTML/CSS/JS) located relative to the
<current dir>/src-tauri/tauri.conf.jsonfile that will be created?
This is the path that Tauri will load your frontend assets from when building for production.Use../uifor this value. - What is the URL of your dev server?
This can be either a URL or a file path that Tauri will load during development.Use../uifor this value. - What is your frontend dev command?
This is the command used to start your frontend dev server.You can leave this blank since nothing needs to be compiled. - What is your frontend build command?
This is the command to build your frontend files.You can leave this blank since nothing needs to be compiled.
If you're familiar with Rust, you will notice that tauri init looks and works a lot like cargo init. You can just use cargo init and add the necessary Tauri dependencies if you prefer a fully manual setup.
The tauri init command generates a folder called src-tauri. It's a convention for Tauri apps to place all core-related files into this folder. Let's quickly run through the contents of this folder:
Cargo.toml
Cargo's manifest file. You can declare Rust crates your app depends on, metadata about your app, and much more. For the full reference see Cargo's Manifest Format.tauri.conf.json
This file lets you configure and customize aspects of your Tauri application from the name of your app to the list of allowed APIs. See Tauri's API Configuration for the full list of supported options and in-depth explanations for each.src/main.rs
This is the entry point to your Rust program and the place where we bootstrap into Tauri. You will find two sections in it:src/main.rs#![cfg_attr(not(debug_assertions), windows_subsystem = "windows")]
fn main() {
tauri::Builder::default()
.run(tauri::generate_context!())
.expect("error while running tauri application");
}The line beginning with the
cfg! macroserves just one purpose: it disables the command prompt window that would normally pop up on Windows if you run a bundled app. If you're on Windows, try to comment it out and see what happens.The
mainfunction is the entry point and the first function that gets invoked when your program runs.icons
Chances are you want a snazzy icon for your app! To get you going quickly, we included a set of default icons. You should switch these out before publishing your application. Learn more about the various icon formats in Tauri's icons feature guide.
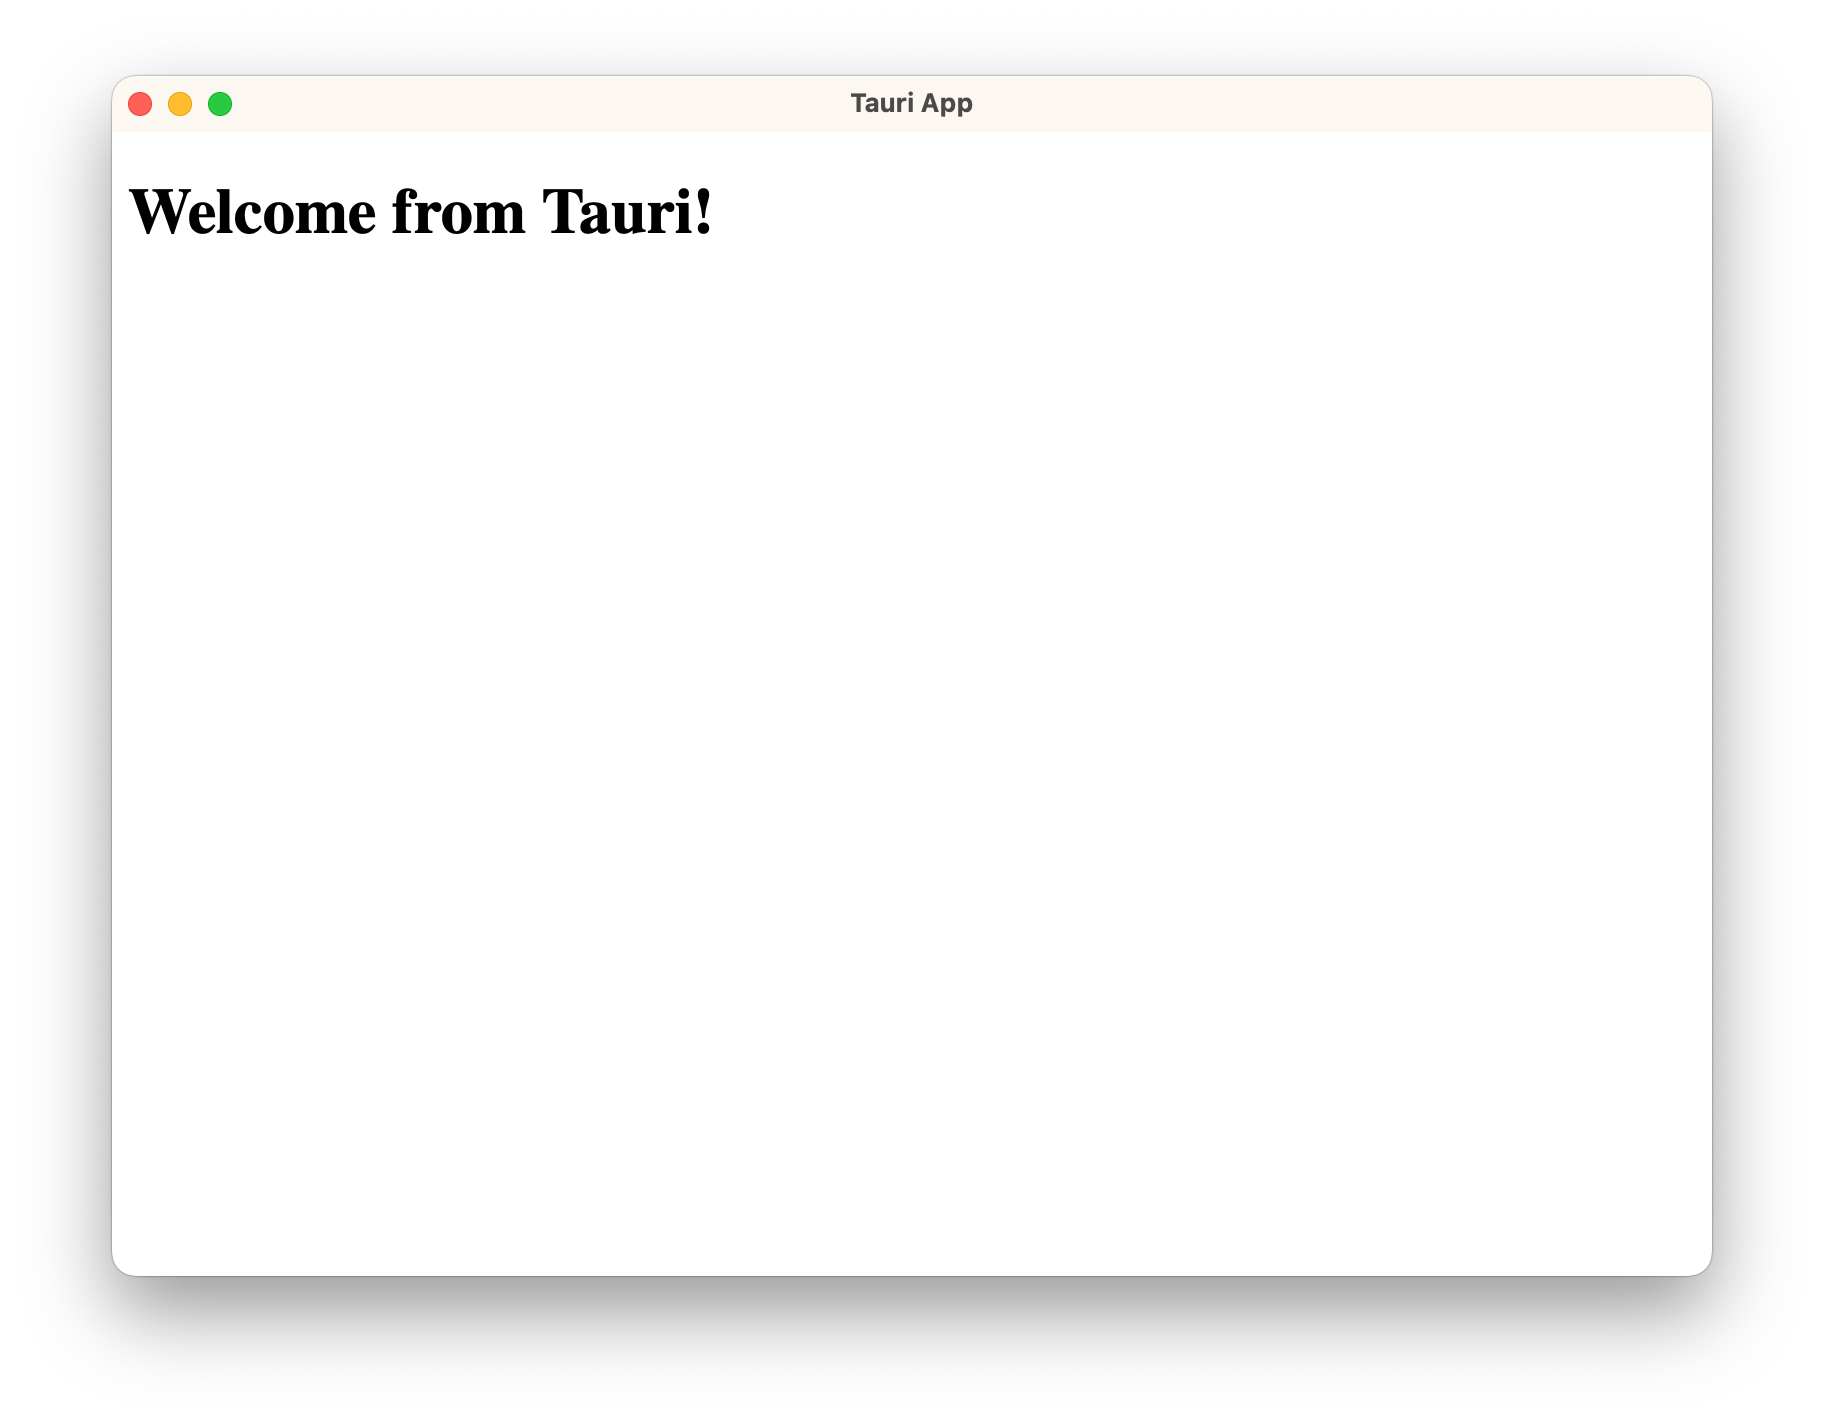
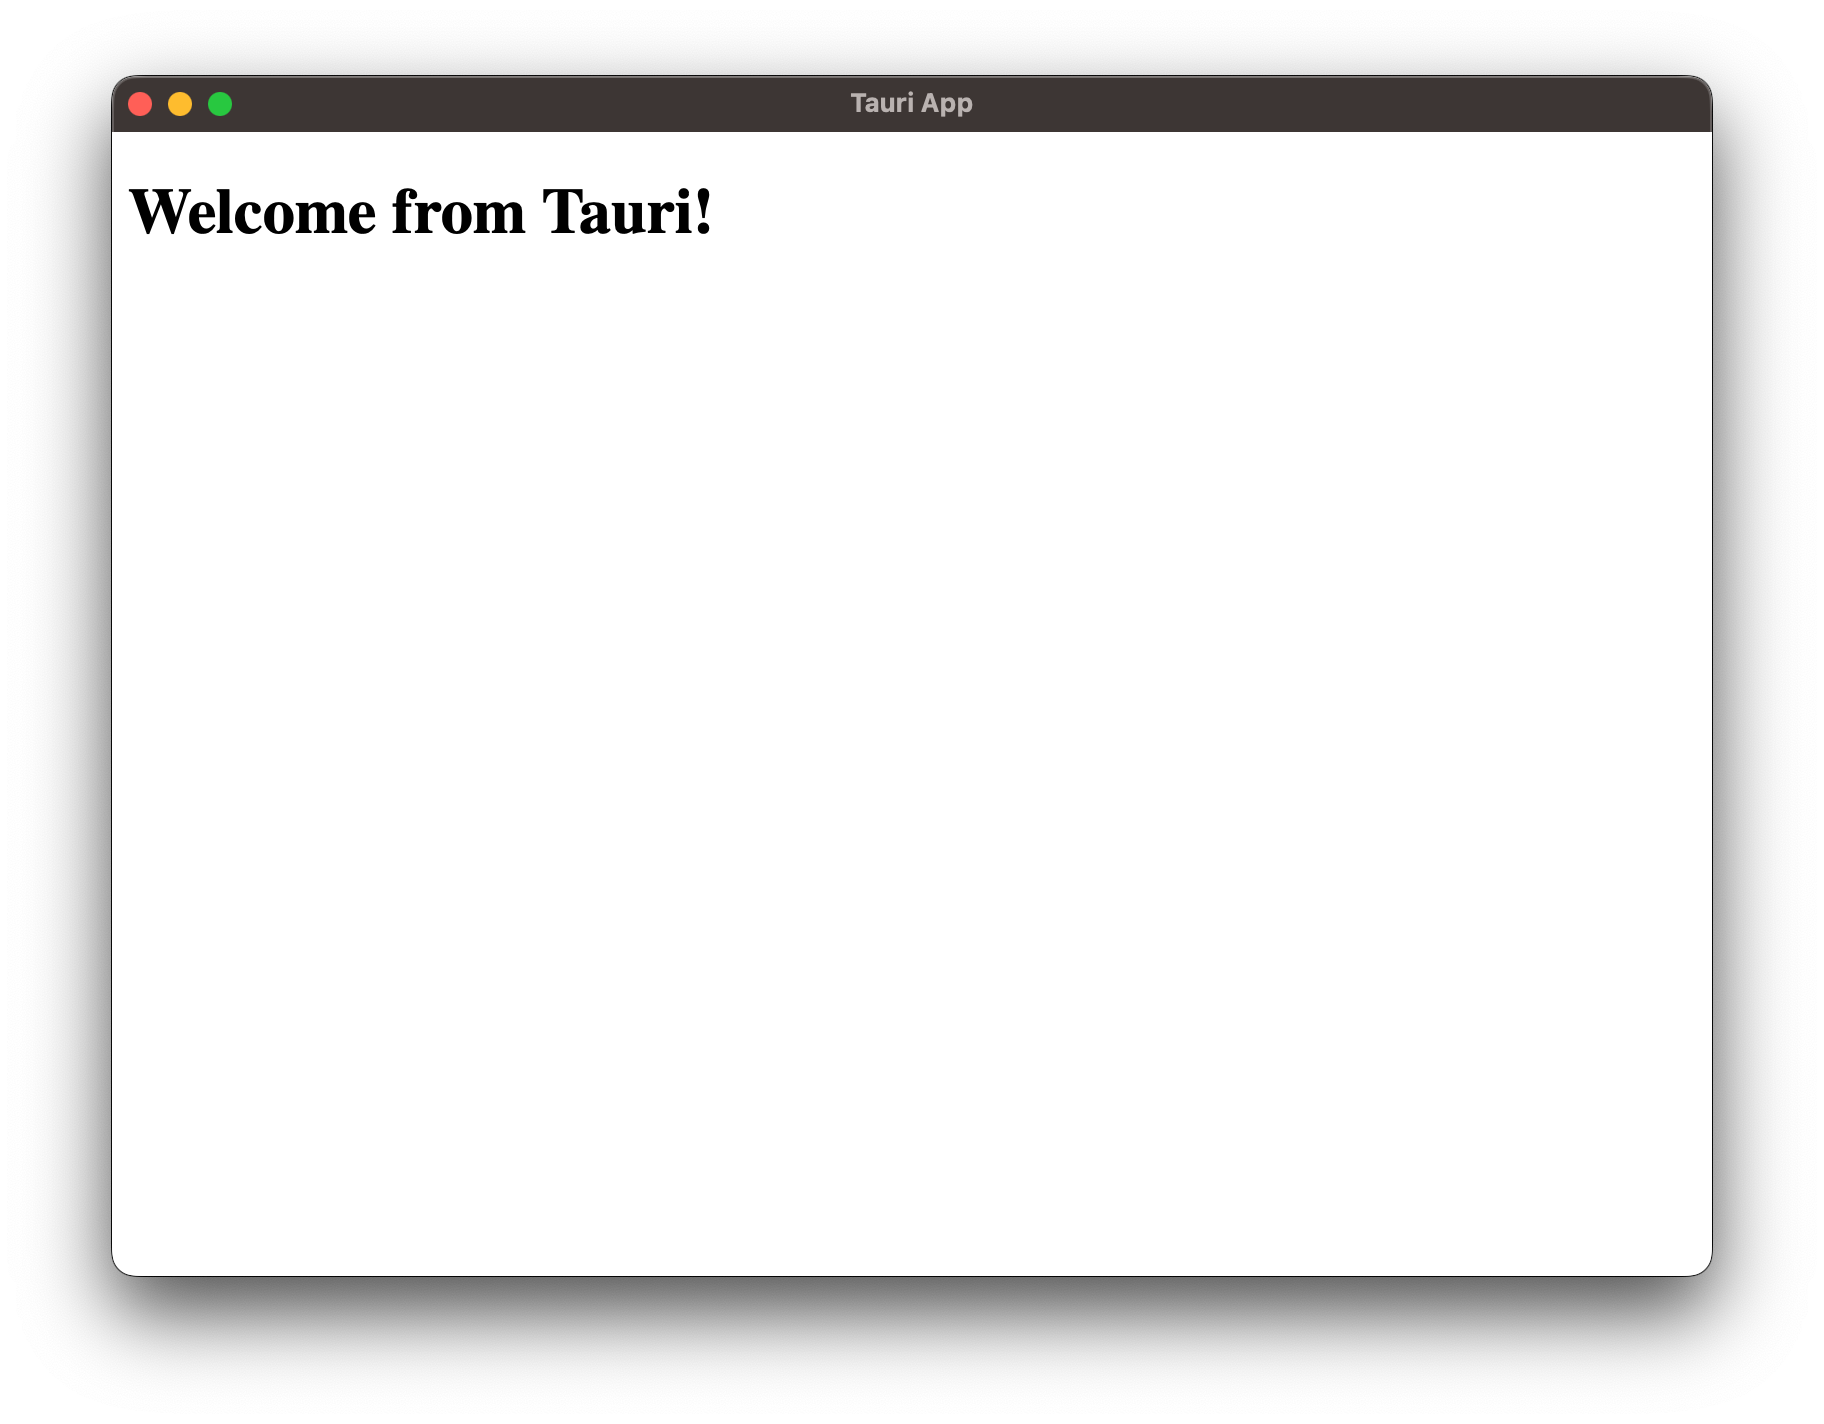
And that's it! Now you can run the following command in your terminal to start a development build of your app:
- npm
- Yarn
- pnpm
- bun
- Cargo
npm run tauri dev
yarn tauri dev
pnpm tauri dev
bunx tauri dev
cargo tauri dev
Preview of Application
Invoke Commands
Tauri lets you enhance your frontend with native capabilities. We call these Commands, essentially Rust functions that you can call from your frontend JavaScript. This enables you to handle heavy processing or calls to the OS in much more performant Rust code.
Let's make a simple example:
#[tauri::command]
fn greet(name: &str) -> String {
   format!("Hello, {}!", name)
}
A Command is just like any regular Rust function, with the addition of the #[tauri::command] attribute macro that allows your function to communicate with the JavaScript context.
Lastly, we also need to tell Tauri about our newly created command so that it can route calls accordingly. This is done with the combination of the .invoke_handler() function and the generate_handler![] macro you can see below:
fn main() {
  tauri::Builder::default()
    .invoke_handler(tauri::generate_handler![greet])
    .run(tauri::generate_context!())
    .expect("error while running tauri application");
}
Now you're ready to call your Command from the frontend!
We would normally be recommending the @tauri-apps/api package here, but since we're not using a bundler for this guide, please enable withGlobalTauri in your tauri.conf.json file:
{
  "build": {
    "beforeBuildCommand": "",
    "beforeDevCommand": "",
    "devPath": "../ui",
    "distDir": "../ui",
    "withGlobalTauri": true
  },
This will inject a pre-bundled version of the API functions into your frontend.
You can now modify your index.html file to call your Command:
<!DOCTYPE html>
<html lang="en">
  <head>
    <meta charset="UTF-8" />
    <meta name="viewport" content="width=device-width, initial-scale=1.0" />
    <title>Document</title>
  </head>
  <body>
    <h1 id="header">Welcome from Tauri!</h1>
    <script>
      // access the pre-bundled global API functions
      const { invoke } = window.__TAURI__.tauri

      // now we can call our Command!
      // You will see "Welcome from Tauri" replaced
      // by "Hello, World!"!
      invoke('greet', { name: 'World' })
        // `invoke` returns a Promise
        .then((response) => {
          window.header.innerHTML = response
        })
    </script>
  </body>
</html>
If you want to know more about the communication between Rust and JavaScript, please read the Tauri Inter-Process Communication guide.