Next.js
This guide will walk you through creating your first Tauri app using the React framework Next.js.
Before we continue, make sure you have completed the prerequisites to have a working development environment.
Tauri è un framework per costruire applicazioni desktop con qualsiasi framework Front-end e un nucleo in Rust. Ogni app consiste di due parti:
- Un binario Rust che crea le finestre ed espone le funzionalità native a quelle finestre
- Un Frontend di tua scelta che produce l'Interfaccia Utente all'interno della finestra
Di seguito, strutturiamo prima il Frontend, poi impostiamo il progetto Rust ed infine ti mostriamo come farli comunicare tra di loro.
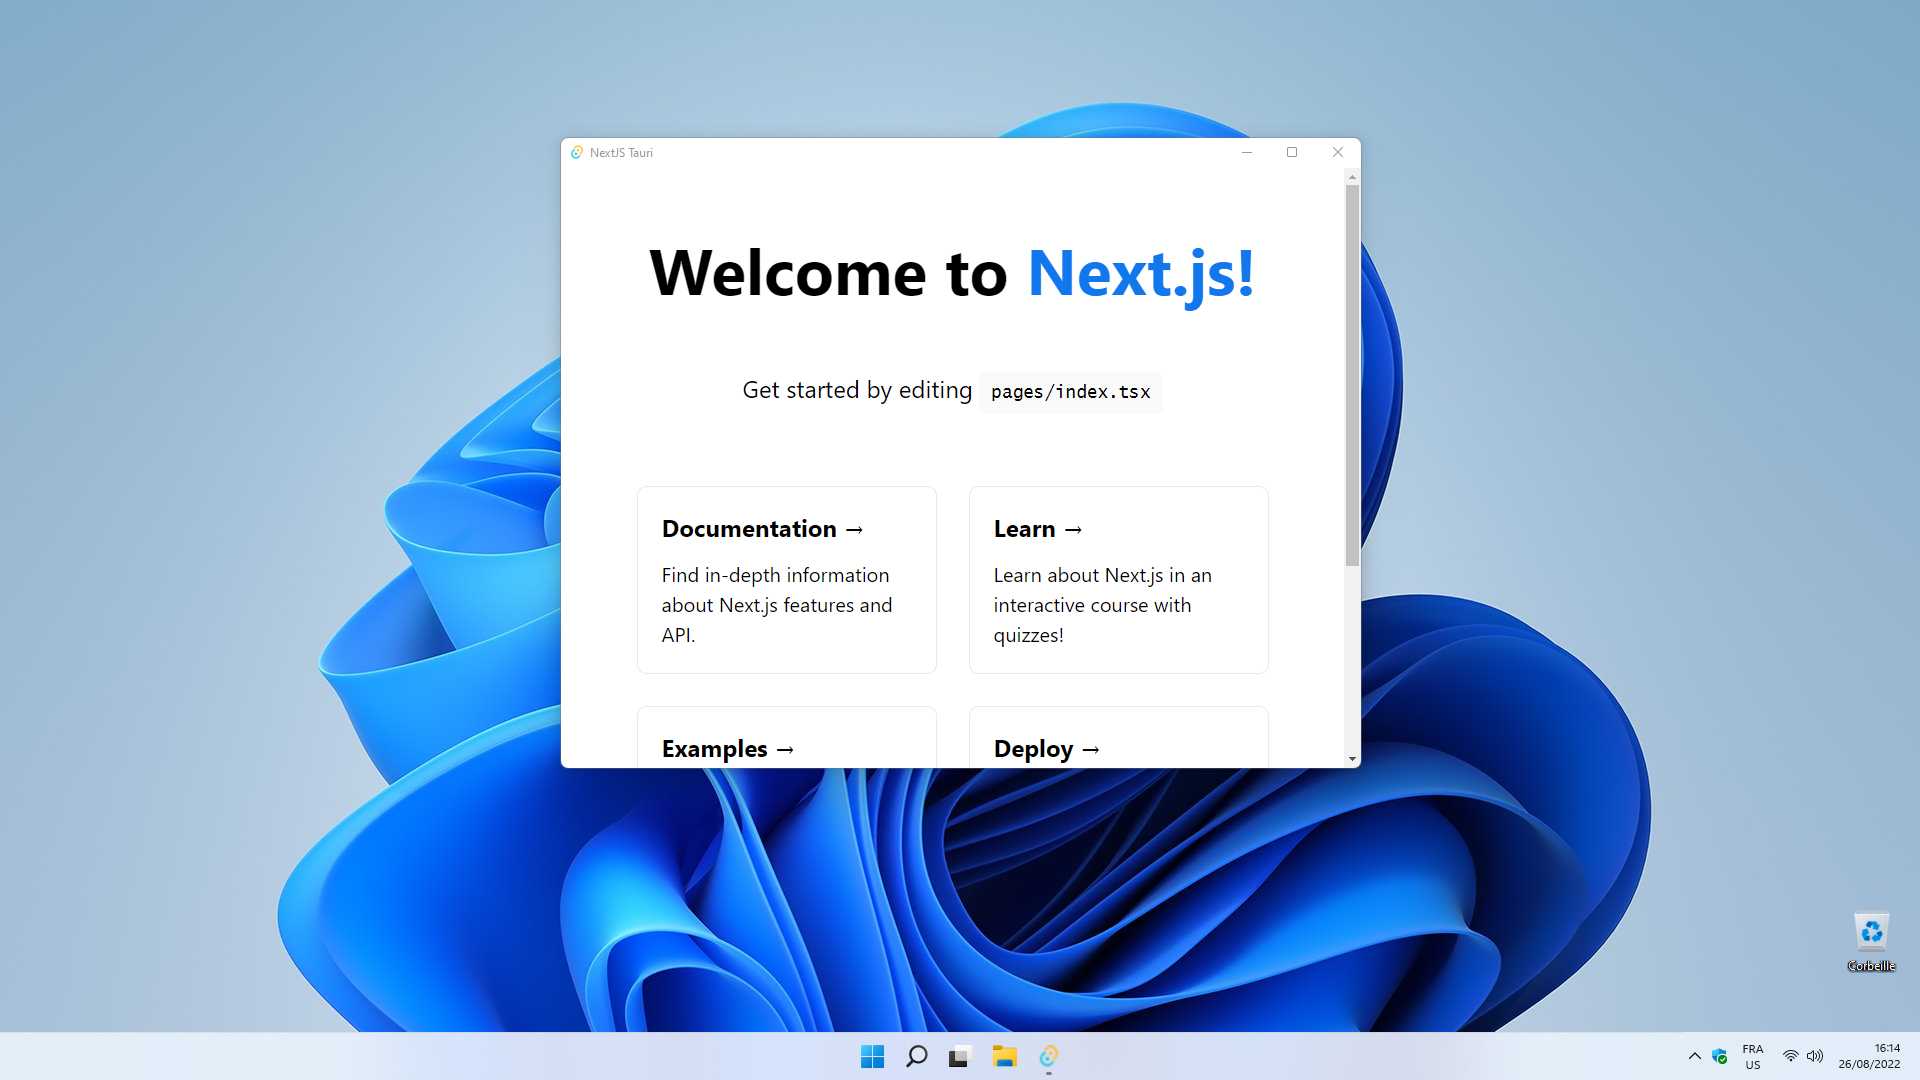
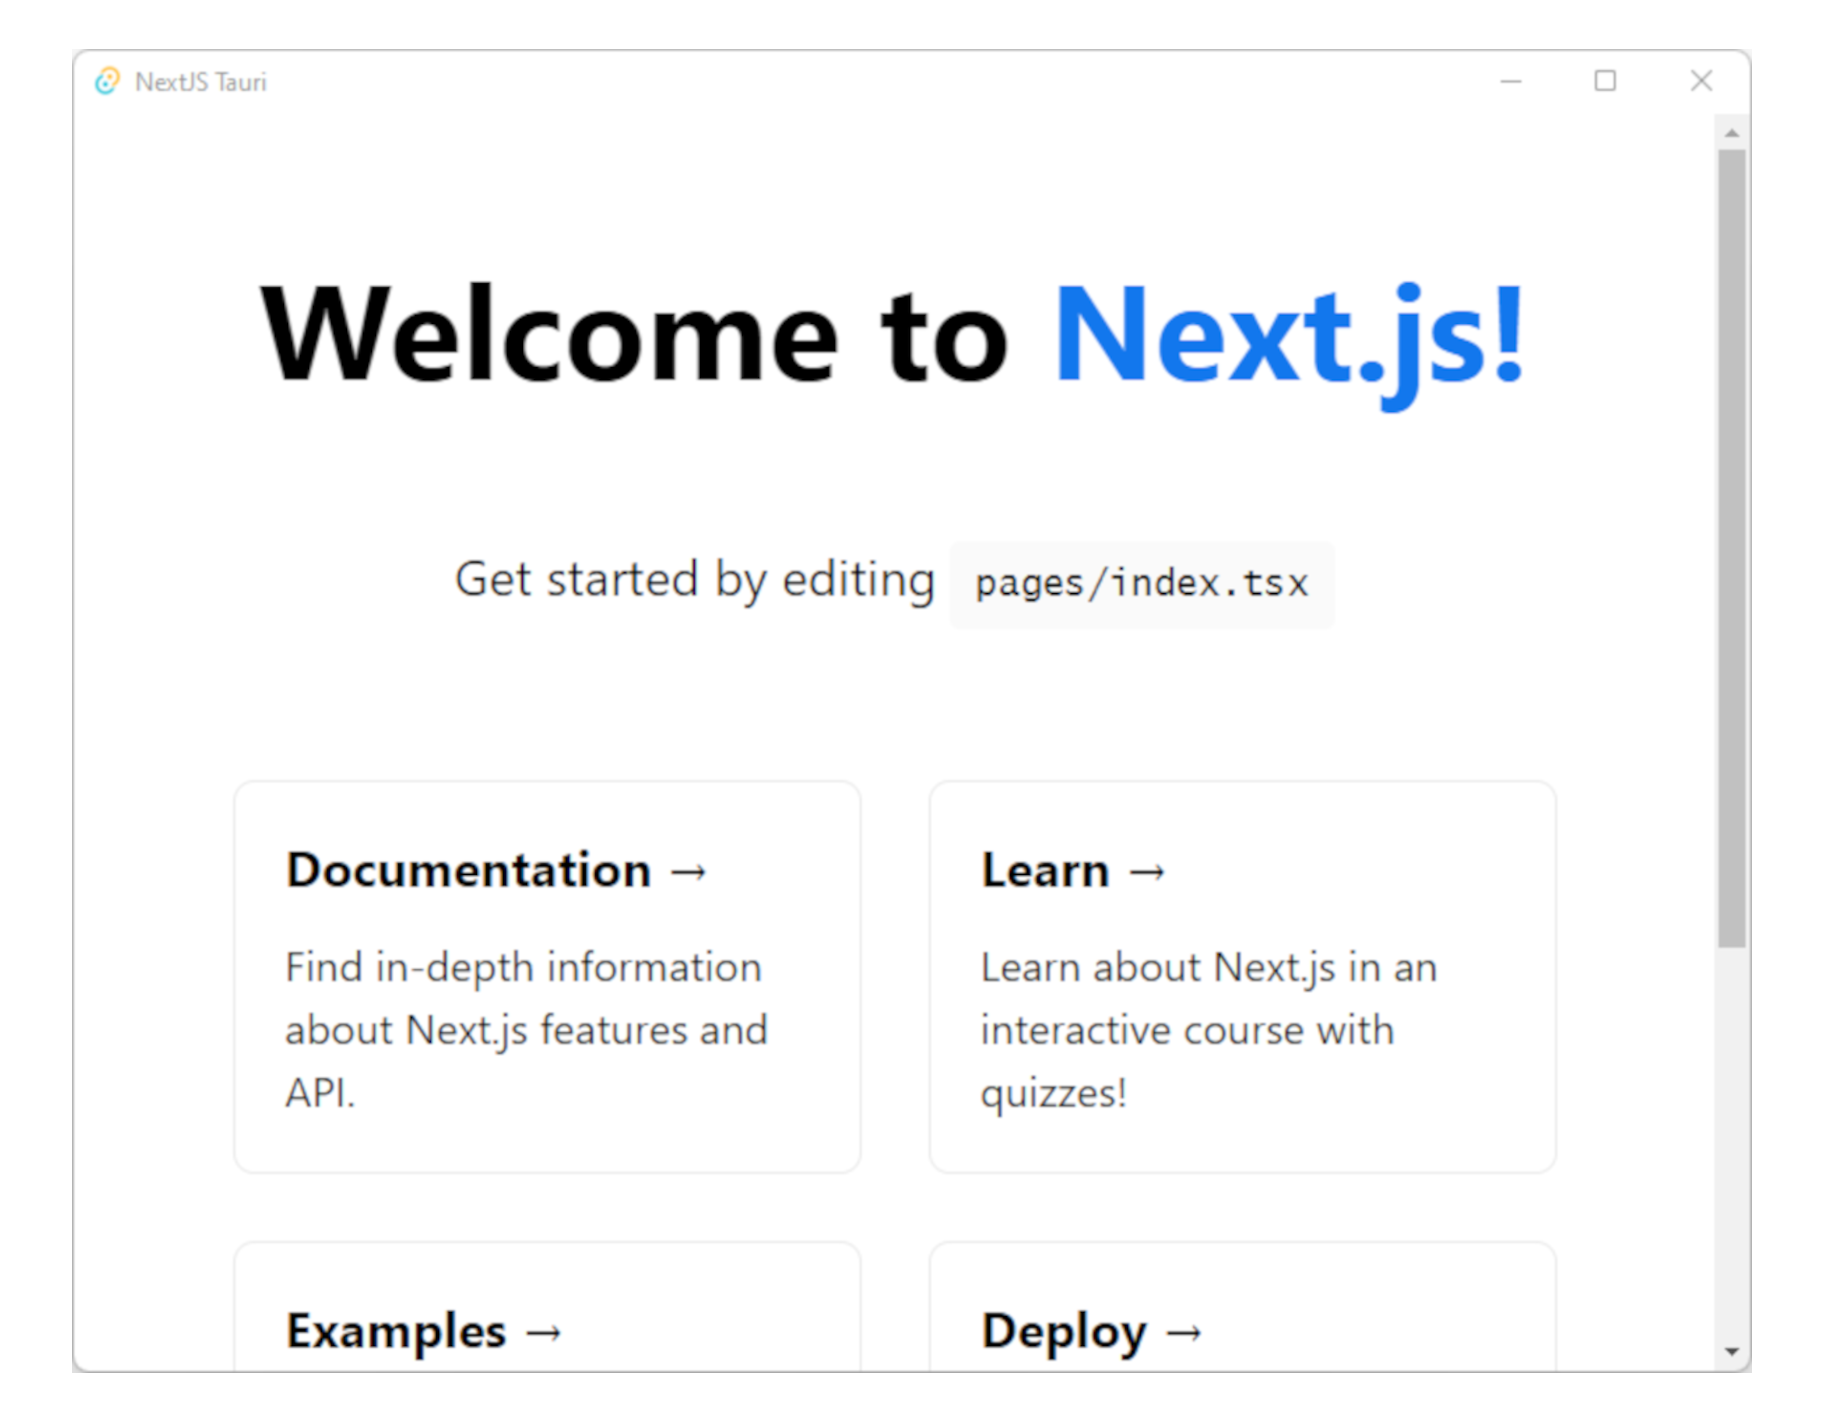
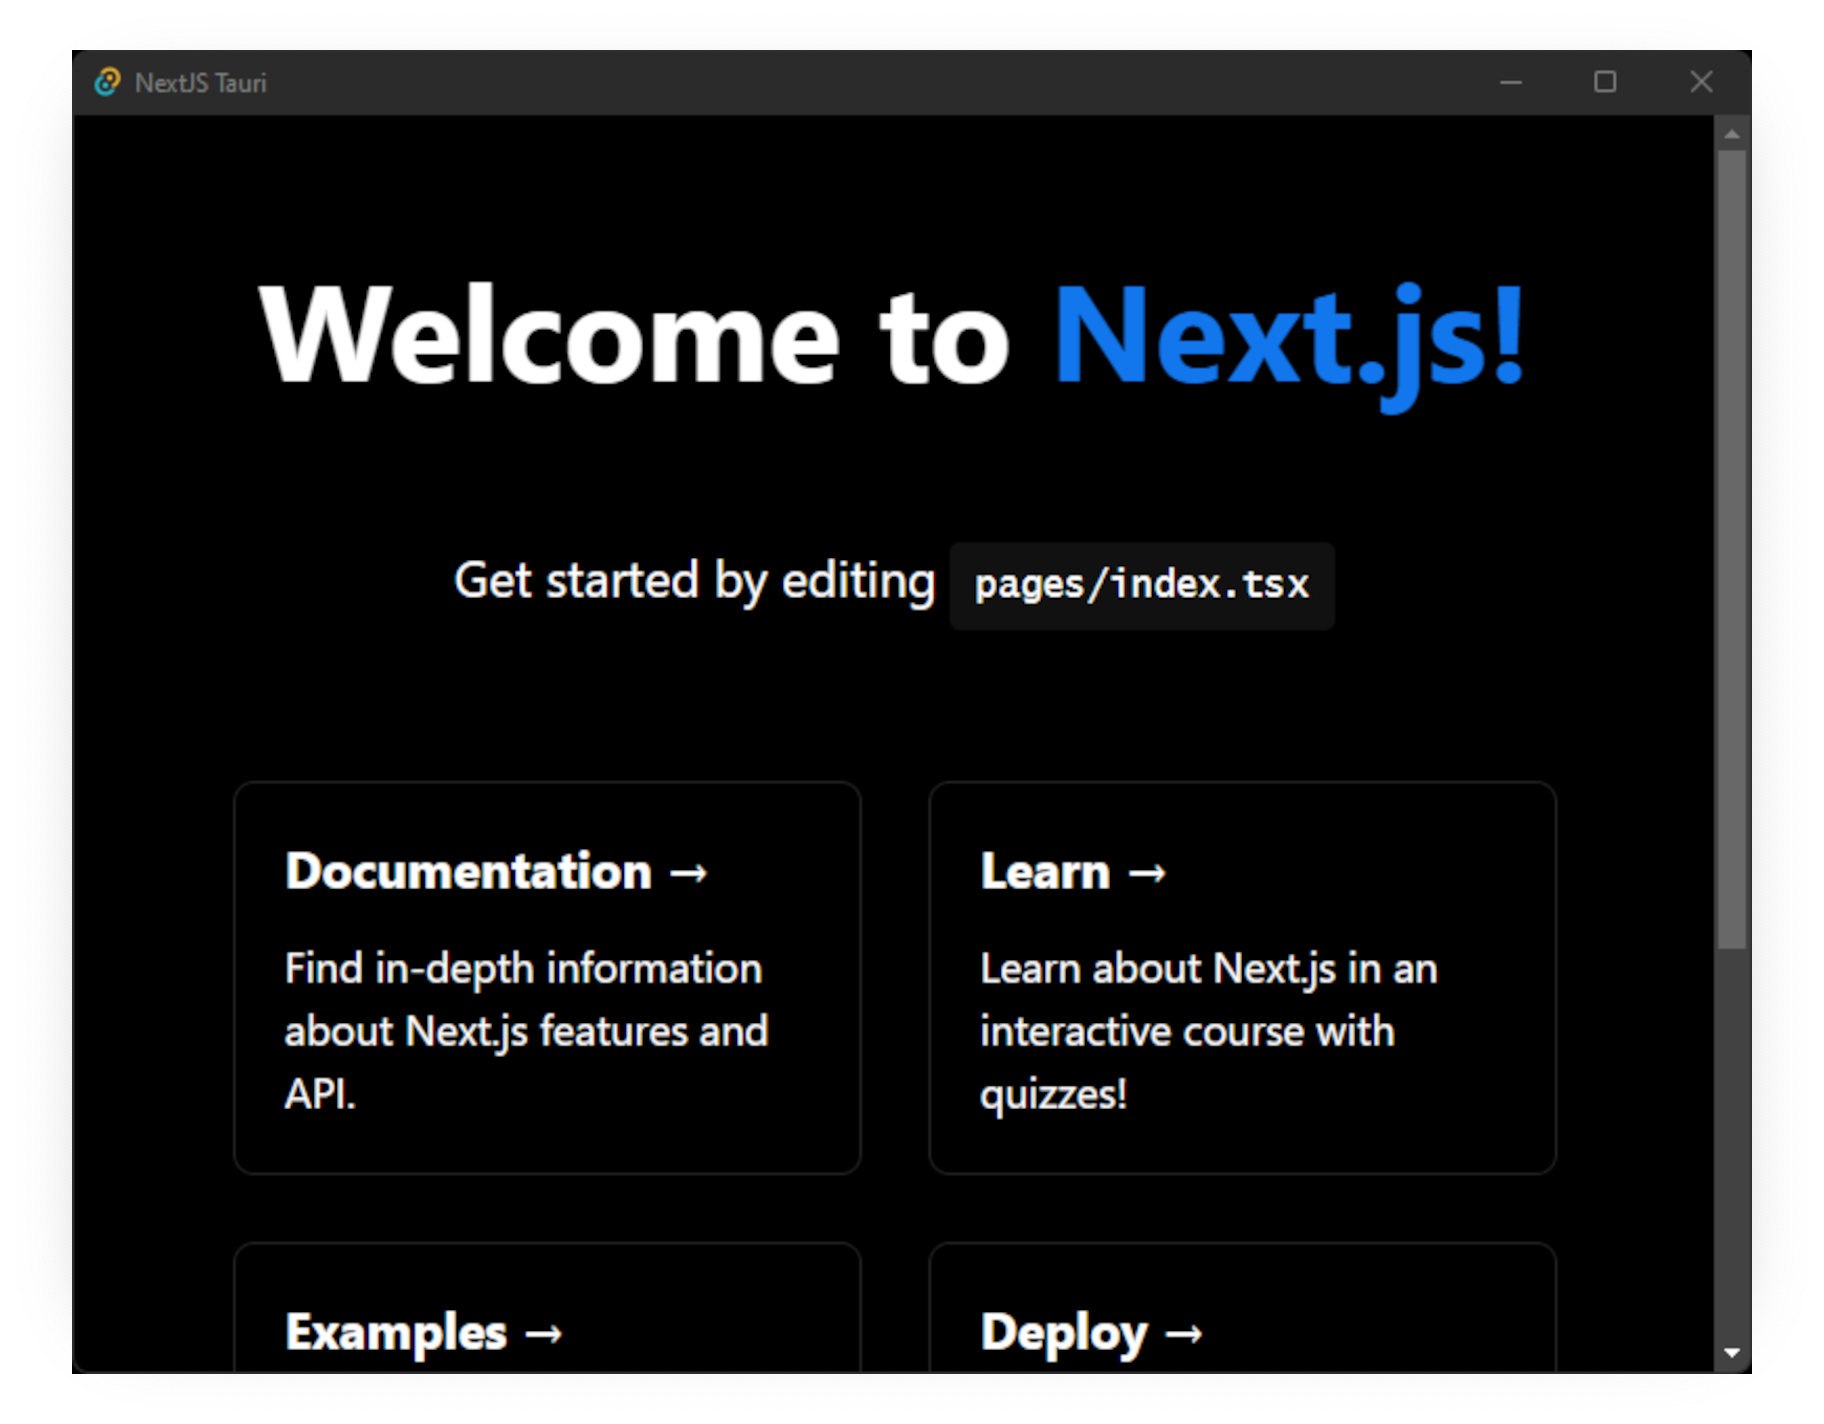
Ecco un'anteprima di quello che costruiremo:

Crea il Frontend
Next.js is a React Framework that comes with both Server-Side Rendering (SSR) and Static-Site Generation (SSG) capabilities. To make Next.js work with Tauri we are going to use the SSG mode since it generates only static files that can be included in the final binary.
Next.js comes with a scaffolding utility similar to create-tauri-app that can quickly setup a new project from many pre-defined templates. For this guide, we will use the suggested default for all questions, including TypeScript support and the new App Router feature stabilized in v13.4. In case you use the the old routes/ directory instead or on top of the app/ directory, you still need to change the config as explained in the Next.js Static Exports section but the way you use Tauri specific JS APIs will be different than described below.
- npm
- Yarn
- pnpm
npx create-next-app@latest --use-npm
yarn create next-app --use-yarn
pnpm create next-app --use-pnpm
- Project name
This will be the name of your project. It corresponds to the name of the folder this utility will create but has otherwise no effect on your app. È possibile utilizzare il nome che si desidera.
Next.js Static Exports
Because Tauri does not have a Node.js runtime you must set Next.js to SSG/SPA mode. This will typically result in faster page loads but also has a few caveats to be aware of, therefore we recommend to carefully read through Next.js' official docs on Static Exports.
These docs also show one required configuration change we will always have to change for a Tauri + Next.js app. To do this, edit the next.config.js file in the project's root directory and add the following:
/** @type {import('next').NextConfig} */
const nextConfig = {
  output: 'export',
}

module.exports = nextConfig
This will change the behavior of the next build to produce an out/ folder containing the HTML/CSS/JS assets for your application instead of writing them to a .next/ directory specific to Next.js' runtime.
There are a few more possible configuration options, so make sure to read through the Static Exports docs as mentioned above and adapt the configuration file according to the needs of your project.
Crea il progetto Rust
At the heart of every Tauri app is a Rust binary that manages windows, the webview, and calls to the operating system through a Rust crate called tauri. Questo progetto è gestito da Cargo, il gestore ufficiale di pacchetti e lo strumento di costruzione tuttofare per Rust.
Tauri CLI utilizza Cargo dietro le quinte quindi raramente è necessario interagire con esso direttamente. Cargo ha molte caratteristiche utili che non sono esposte attraverso la CLI, come testing, linting, e formattazione, quindi invitiamo a riferirsi alla loro documentazione ufficiale per saperne di più.
If you haven't installed the Tauri CLI yet you can do so with one of the below commands. Non sei sicuro quale usare? Dai un'occhiata alla voce FAQ.
- npm
- Yarn
- pnpm
- Bun
- Cargo
npm install --save-dev @tauri-apps/cli
"scripts": {
  "tauri": "tauri"
}
yarn add -D @tauri-apps/cli
pnpm add -D @tauri-apps/cli
bun add -D @tauri-apps/cli
cargo install tauri-cli
Per strutturare un progetto Rust minimale preconfigurato per utilizzare Tauri, apri un terminale ed esegui il seguente comando:
- npm
- Yarn
- pnpm
- Cargo
npm run tauri init
yarn tauri init
pnpm tauri init
cargo tauri init
Vi guiderà attraverso una serie di domande:
- What is your app name?
This will be the name of your final bundle and what the OS will call your app. È possibile utilizzare il nome che si desidera. - What should the window title be?
This will be the title of the default main window. You can use any title you want here. - Where are your web assets (HTML/CSS/JS) located relative to the
<current dir>/src-tauri/tauri.conf.jsonfile that will be created?
This is the path that Tauri will load your frontend assets from when building for production.Use../outfor this value. - What is the URL of your dev server?
This can be either a URL or a file path that Tauri will load during development.Usehttp://localhost:3000for this value. - What is your frontend dev command?
This is the command used to start your frontend dev server.Usenpm run devfor this value (make sure to adapt this to use the package manager of your choice). - What is your frontend build command?
This is the command to build your frontend files.Usenpm run buildfor this value (make sure to adapt this to use the package manager of your choice).
Se hai familiarità con Rust, noterai che tauri init sembra e funziona molto come cargo init. È possibile utilizzare cargo init e aggiungere le dipendenze Tauri necessarie se si preferisce una configurazione completamente manuale.
Il comando tauri init genera una cartella chiamata src-tauri. È una convenzione per le applicazioni Tauri dove inserire tutti i file correlati al nucleo in questa cartella. Attraversiamo rapidamente i contenuti della cartella:
Cargo.toml
Cargo's manifest file. È possibile dichiarare crates Rust da cui la tua app dipende, metadati sulla tua app, e molto altro. Per il riferimento completo vedi Formato Manifesto di Cargo.tauri.conf.json
This file lets you configure and customize aspects of your Tauri application from the name of your app to the list of allowed APIs. Vedere Configurazione API di Tauri per l'elenco completo delle opzioni supportate e le spiegazioni approfondite per ciascuno.src/main.rs
This is the entry point to your Rust program and the place where we bootstrap into Tauri. Troverete due sezioni in esso:src/main.rs#![cfg_attr(not(debug_assertions), windows_subsystem = "windows")]
fn main() {
tauri::Builder::default()
.run(tauri::generate_context!())
.expect("error while running tauri application");
}The line beginning with the
cfg!ha un solo scopo: disattiva la finestra del prompt dei comandi che normalmente apparirebbe su Windows se si eseguisse un app impacchettata. Se sei su Windows, prova a commentarlo e vedi cosa succede.La funzione
mainè il punto di entrata e la prima funzione che viene invocata quando il programma viene eseguito.icons
Chances are you want a snazzy icon for your app! Per farti andare velocemente, abbiamo incluso un set di icone predefinite. Dovresti cambiarli prima di pubblicare la tua applicazione. Scopri di più sui vari formati di icone nella guida delle icone di Tauri.
Now that we have scaffolded our frontend and initialized the Rust project you're almost ready to run your app. Your tauri.conf.json file should look something like this:
{
  "build": {
    "beforeBuildCommand": "npm run build",
    "beforeDevCommand": "npm run dev",
    "devPath": "http://localhost:3000",
    "distDir": "../out"
  },
E questo è tutto! Ora puoi eseguire il seguente comando nel terminale per avviare una build di sviluppo della tua app:
- npm
- Yarn
- pnpm
- bun
- Cargo
npm run tauri dev
yarn tauri dev
pnpm tauri dev
bunx tauri dev
cargo tauri dev
Invoca Comandi
Tauri lets you enhance your frontend with native capabilities. Chiamiamo queste funzionalità Comandi, sono essenzialmente funzioni Rust che puoi chiamare dal tuo Frontend JavaScript. Questo ti consente di gestire elaborazioni pesanti o chiamate al SO tramite codice Rust più performante.
Facciamo un piccolo esempio:
#[tauri::command]
fn greet(name: &str) -> String {
   format!("Ciao, {}!", name)
}
Un Comando è come qualsiasi funzione Rust, con l'aggiunta dell'attributo macro #[tauri::command] che permette alla tua funzione di comunicare con il contesto JavaScript.
Infine, dobbiamo anche dire a Tauri del nostro nuovo Comando in modo che possa indirizzare le chiamate di conseguenza. Questo è fatto con la combinazione della funzione .invoke_handler() e della macro generate_handler![] che puoi vedere sotto:
fn main() {
  tauri::Builder::default()
    .invoke_handler(tauri::generate_handler![greet])
    .run(tauri::generate_context!())
    .expect("Errore nell'eseguire l'applicazione tauri");
}
Now you're ready to call your Command from the frontend!
To call our newly created command we will use the @tauri-apps/api JavaScript library. It provides access to core functionality such as window manipulation, the filesystem, and more through convenient JavaScript abstractions. È possibile installarlo utilizzando il gestore di pacchetti JavaScript preferito:
- npm
- Yarn
- pnpm
- Bun
npm install @tauri-apps/api
yarn add @tauri-apps/api
pnpm add @tauri-apps/api
bun add @tauri-apps/api
One important thing to note is that all of Tauri's JS APIs require access to browser-only APIs which means they can only be used in Client Components. If you don't need Server Components you can add 'use client' at the very top of the app/page.tsx file, in this guide however, we will create a separate component so that we don't have to convert the whole app.
'use client'

import { useEffect } from 'react'
import { invoke } from '@tauri-apps/api/tauri'

export default function Greet() {
  useEffect(() => {
    invoke<string>('greet', { name: 'Next.js' })
      .then(console.log)
      .catch(console.error)
  }, [])

  // Necessary because we will have to use Greet as a component later.
  return <></>
}
Now we will use this component in the default Home component in app/page.tsx. Note that it must be in the actual component tree and can't be a simple function call as long as the parent (in this case the Home component) is a Server Component.
// ...
import Greet from './greet'

export default function Home() {
  return (
    <main className="flex min-h-screen flex-col items-center justify-between p-24">
      <Greet />
      ...
    </main>
  )
}
If you want to know more about the communication between Rust and JavaScript, please read the Tauri Inter-Process Communication guide.